
Flatten The Mountain Beginner Guide: What to Buy First
Mine manually until you can buy Damage I, then unlock Drone I as early as possible. A public run documented on September 2 showed Damage I at $1, Drone I at $5, Turret I at about $23, and Auto Mine near $200. Use that as a dated starter route—not a promise that the same prices survived the game's September 3 update. If your current menu shows a different cost or effect, follow the live UI.
Evidence reviewed September 6, 2026. Dates describe source review or hands-on testing only—not automatic builds.
Published by the FlattenTheMountain editorial team. First published August 31, 2026.
The beginner route
1. Join the correct game
Open Flatten The Mountain by DomBlox Games and verify Place ID 78724109436030 before following a guide. Similar Roblox mining games use different currencies, shops, and codes.
Play the official Roblox experience
2. Mine the first blocks by hand
The opening loop begins with manual pickaxe swings. Clear one connected part of the top layer instead of jumping between distant blocks. A full horizontal layer produces a layer-cleared message in dated public footage, which makes the layer count more useful than judging progress by appearance alone.
3. Buy Damage I first when it is still the cheapest step
In the September 2 run, Damage I cost $1 and changed each swing to remove three voxels. That purchase shortened the manual opening enough to reach the first automation threshold quickly.
Current-version rule: read the displayed effect before buying. This site has not confirmed that the $1 cost or three-voxel result remained unchanged after September 3.
4. Buy Drone I as soon as you can
Drone I was shown at $5 in the same dated run. The drone mined blocks automatically while the player moved and continued manual mining, so it created the first useful passive layer progress.
For an early run, one drone is a more practical first automation target than waiting for the more expensive Turret I shown in that source.
5. Add Player Damage and Mine Speed
After Drone I, spend on the two Player stats that directly reduce manual clearing time:
- Damage helps each hit remove more of a block or voxel group.
- Mine Speed reduces the time between effective swings.
Do not spend every dollar on one line without checking the next displayed cost. Alternate between the cheaper useful improvement and the bottleneck you can see in the current run.
6. Add Turret I, then Mine Distance
A September 2 route showed Turret I at about $23. Turrets orbit the mountain and mine blocks with a beam, adding a second form of automation.
Mine Distance I was described at 18 studs in that same dated source. Distance becomes useful when lower blocks are awkward to reach or when you want to keep mining without stepping onto every exposed edge.
7. Buy Auto Mine when it appears
Auto Mine was shown near the $200 point in the dated run. It reduced repeated clicking while still requiring the player to aim. Treat the current menu—not the historical $200 figure—as the source of truth.
Recognize the mining loop
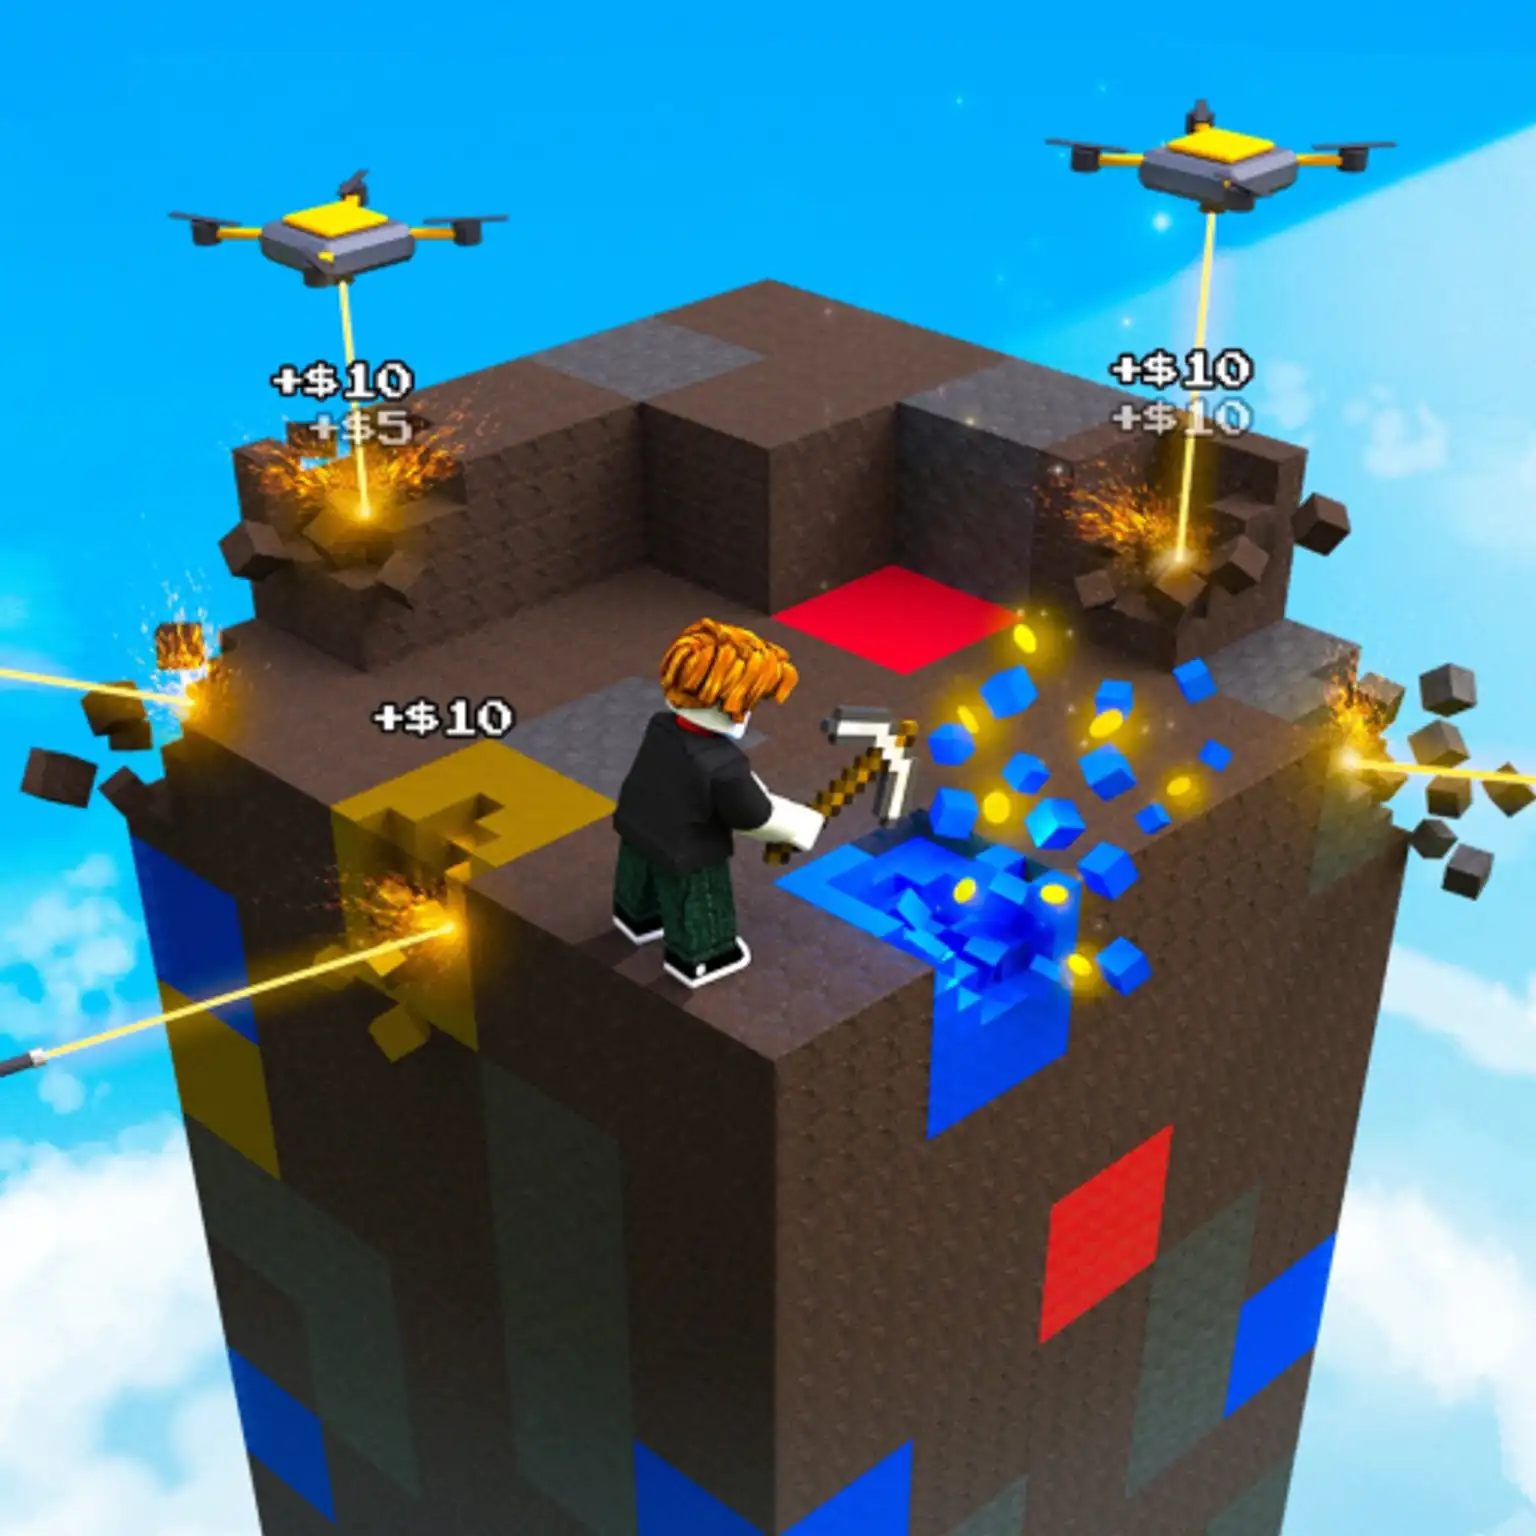
A practical early purchase order
| Step | Dated early target | Why it comes here |
|---|---|---|
| 1 | Damage I | Speeds up the first manual dollars |
| 2 | Drone I | Starts automatic mining early |
| 3 | Player Damage / Mine Speed | Keeps your own pickaxe useful while automation works |
| 4 | Turret I | Adds a second automated worker type |
| 5 | Mine Distance | Helps reach awkward blocks and edges |
| 6 | Auto Mine | Reduces click-spam once the run is established |
This is a starter path reconstructed from dated public footage and an illustrated guide. It is not an official build order or a universal speedrun route.
How to handle Cash, Gems, and ores
- Cash is earned while mining and pays for the in-run upgrade menu.
- Gems were shown as the lobby currency used for pickaxes.
- Buried chests in two public records produced 50 Gems, but the reward is not yet confirmed as fixed in the September 3 build.
- A September 2 payout snapshot showed Gold and Sapphire at
$40, Emerald at$80, Ruby at$160, and Diamond at$320.
When high-value ore appears, mine it manually while drones and turrets continue clearing ordinary blocks. See the Cash and Gems guide for the full dated payout table.
What to do when a chest appears
Chests are buried inside the mountain rather than placed as a reliable lobby pickup. Clear layers cleanly, scan newly exposed inner faces, and use the interaction prompt shown by your current client. A dated PC screenshot showed an F prompt.
Read the Buried Chests guide before trusting a fixed-location map. No fixed coordinate, spawn count, or respawn timer is confirmed.
What to do when the eagle appears
Dated footage and an illustrated guide show an EAGLE INCOMING! alert and a red warning area or flight path. Stop mining long enough to move fully outside the marked area, then resume after the pass.
Do not assume a turret will protect you. One article described turrets as defensive, while another said the eagle should simply be avoided; no reliable evidence proves that a turret cancels the attack.
See the Eagle guide for the safe evidence boundary.
How to know you are making progress
A September 2 full-run record described a 534-meter mountain divided into 89 six-meter layers. That is a historical observation, not an official permanent specification. Use the visible layer-cleared message and Height display together.
Near the bottom, the same source documented a block that remained targetable by its outline even when its model appeared invisible. If a layer refuses to finish, sweep the remaining outlined tiles instead of assuming the run is broken.
Common beginner problems
My progress is very slow
Make sure you have started automation instead of saving every dollar. Buy the cheapest useful Damage step, then Drone I, and keep mining high-value ore by hand while workers clear ordinary blocks.
I cannot finish a layer
Look for a target outline on an apparently empty tile, especially near the bottom. Keep an eye on the layer counter to confirm whether a remaining block registered.
I found a chest but do not see an F prompt
The F prompt comes from dated PC material. Use the interaction control shown by your current device and move close enough for the prompt to appear. This site does not guess the current mobile button label.
An upgrade costs more than this guide says
The game record changed on September 3. Prices in this guide are dated observations from September 2. The current on-screen price is the correct one for your server.
Does my progress save when I leave?
A reliable persistence rule was not confirmed in the public evidence used here. Do not promise yourself a cross-server save based on a single partial run.
Beginner FAQ
What should I buy first in Flatten The Mountain?
A dated early route is Damage I, then Drone I, followed by Player Damage/Mine Speed, Turret I, Mine Distance, and Auto Mine. Follow the current UI if the order or costs have changed.
Should I buy a drone or turret first?
Drone I appeared much earlier in the documented September 2 economy ($5 versus about $23 for Turret I), so Drone I is the practical first automation purchase for that build.
What are Gems for?
Dated public material shows Gems being spent in the lobby Pickaxe Store. Chest and completion rewards are covered on the Pickaxes guide.
How many layers are there?
One September 2 run documented 89 layers across 534 meters. Treat that as a dated run record until the current build is independently confirmed.
Sources and evidence status
- Official game identity and core loop: Roblox experience
- Current official update timestamp: Roblox public game record
- Dated illustrated route and values: How to Clear All 89 Layers Faster, updated September 2, 2026
- Dated systems overview: Full Guide to Pickaxes, Drones, and Money, updated September 1, 2026
- Timestamped gameplay reference already used by this site: OTTER ON ROBLOX video
- Evidence policy
Revision history
- September 6 content reviewAdded direct answers, dated source values, and the September 3 version boundary.